How to Build and Work with Plastic Models – Scale Modelling Tips
Whether you’re a complete scale modelling novice, or you’ve been building for years, there are many lessons when learning how to build plastic models. Battleships, tanks, Star Wars icons, and race cars – there is a massive number of high quality plastic models available to the budding hobbyist, each requiring a slightly different approach. As with any scale model, it pays to know the medium you work in so you can achieve the best possible results and finish with a model you are proud of. With this in mind, we’ve prepared a few helpful tips to get your plastic models looking incredible – check them out below!
-
1) How to mark plastic
If you want to know how to build plastic models, marking is an obvious place to start. You wouldn’t run before you can walk, and you shouldn’t cut your model parts before marking! A soft pencil is adequate for marking a cut or bend line on opaque plastic but use a china-graph, felt pen or a scriber to mark transparent plastic. Acrylic sheet is usually covered with a layer of paper to prevent its surface being scratched. You can mark cutting lines with a pen or pencil directly onto the paper or use a scriber to mark the actual surface.
You can stick masking tape along one side of the cut line, and remove it once you have finished cutting and filing
Cutting cylinders can be tricky, especially if you want a square cut. To ensure straight lines, simply wrap a straight-edged piece of paper around the cylinder, and guide your pencil or scriber before making the cut. Alternatively, you can stick masking tape along one side of the cut line, and remove it once you have finished cutting and filing.
-
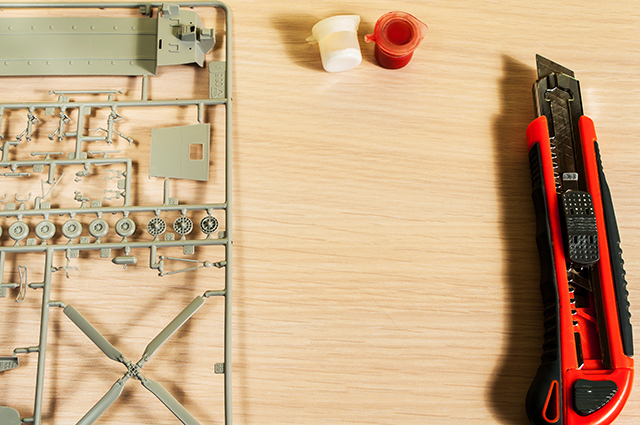
2) How to cut plastic
Whether you’re building a brand new car, or kit-bashing a unique spaceship out of your leftover parts, getting your cuts right is a vital part of how to build plastic models. If you’re working with very thin plastic, you can usually get by using scissors or a modelling knife. But if you’re cutting sheet plastic, thicker polystyrene, or acrylobutyl styrene, score a straight line with a knife and snap the plastic over the edge of a desk or bench. If done correctly, the break will be perfectly clean along the scored line. This method can also be used for curved cuts, as long as they are not too tight.
Working with brittle plastics such as acrylics, plastic laminates, or acetate? The above method may result in off-line breaks, so we recommend using your trusty craft knife or, as in the case of most acrylic sheet, sawn with a backsaw. To do so, clamp your sheet to the edge of your bench or desk, using a piece of wood over the plastic to protect its surface. Make a saw-cut – work on the wasted side of the cut line. Plane and polish the edge afterward. Use a fret saw or piercing saw to make a curved cut, holding the work on a bench hook.
When cutting curves, support the plastic on a V-shaped plywood bench peg, clamped or screwed to the workbench. Once it is secure, position the cut line close to the peg, and turn the plastic as you cut.
Don’t forget to check the fit of each piece constantly as you work
If you’re working with moulded components, use scissors or a sharp knife to separate each one. Cut off any excess plastic close to the edge of the component, and finish it by rubbing the component carefully on abrasive paper glued to a board. Don’t forget to check the fit of each piece constantly as you work!
To cut parts from a sprue, support the “tree” on a block of wood and cut off a piece of sprue, leaving a small stump on the component. Pare this away once it has been separated.
-
3) How to fill plastic
Even if you know how to build plastic models, the best scale modellers can still struggle to make invisible joints in a rigid material – but don’t despair! Fine gaps can be filled by brushing matt enamel paint into them. When the paint has set hard, rub it down with wet-and-dry paper for a smooth finish.
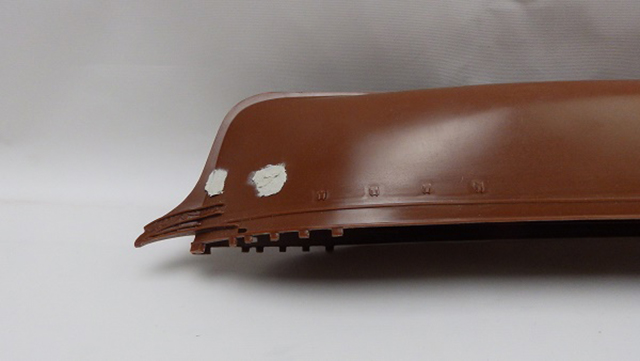
For larger gaps, we recommend using a special epoxy paste for filling plastic, typically available ready-to-use in two parts for mixing. Only a very small amount of filler is required – it also shrinks very little, so work the filler as close as possible to your required shape. Use a spatula of some kind to mould and press the filler into the joints as much as possible – an old knife blade works well. Dampen the tip of a finger and wipe along and across the joints lightly to smooth it flush. Leave the filler to harden overnight, then sand it lightly with very fine abrasive paper.
If you’re on the hunt for a new plastic model project, our iconic 1:144 scale Thunderbird 2 kit is suitable for all scale modellers!
Epoxy paste can also be used filling gaps or dents, or for building up sections of your scale model. Mould it as close as possible to your desired shape, and smooth it with water to achieve the best finish.
Liquid plastic can be made by dissolving scrap polystyrene in liquid cement
Looking for a more malleable filler? Liquid plastic might be the answer! Great for filling gaps and building up small details and textures, liquid plastic can be made by dissolving scrap polystyrene in liquid cement or artist’s paint remover (trichlorethylene). Cut scraps into small pieces and drop them into a screw-top jar. Add solvent, replace the lid, and leave to dissolve overnight. If you find that the consistency isn’t quite what it needs to be, simply add more solvent or scraps. A thicker consistency is ideal for gap filling, a medium one for detailing, and a thin one when coating tissue paper for making clothing for model figures.
Pro tip: When filling dents, drill shallow holes in the depression from different angles to anchor the filling. Overfill it very slightly, leave it to harden, and sand flush.
-
4) How to smooth plastic
While it’s ok for us scale modellers to be a little rough around the edges, generally our scale models look better with a smooth finish. If you’re just starting to learn how to build plastic models and you’re new to plastic smoothing, check out our abrasives and sanding guide! All the rigid plastics mentioned so far, with the exception of polyethylene, can be smoothed with fine needle files and suitable abrasives. Flash (the thin film of plastic which results from badly fitting moulds) can be removed in this way or with a sharp knife. Plastic tends to clog fine files, but can be cleaned easily with a soft wire brush. Most plastics can also be trimmed with a finely set, sharp plane.
For any larger components or thick acrylic sheet use a bench-mounted disc sander for shaping and smoothing – use light pressure to avoid overheating! To remove flash, cut it away with a sharp knife, working as close to the edge as possible. Smooth the edge with a needle file or abrasive paper.
-
5) How to bend plastic
Keen to bend your plastic like Beckham? Football may not teach you how to build plastic models, but we sure can! You can bend plastic strip or rod by pulling it under a rounded tool held on a flat surface, or by rolling a dowel across the tip of the strip or rod held on a piece of cardboard. The greater the pressure the greater the curve. Very thin plastic sheet can be curled around a paint brush handle.
Water and heat can also be used to bend plastic
If you want a more accurate method, apply a drop of liquid cement to the area you want to bend. Leave it to soften for a few minutes, then bend gently to avoid stretching. Water and heat can also be used to bend plastic. For this method, tape your component over a former and plunge it into very hot water. Leave it to soften, then cool in cold water while still attached to the former.
-
6) How to polish plastic
A guide for how to build plastic models wouldn’t be complete without some plastic polishing advice. While some models benefit from a dull, or weathered look, others were made to shine! To polish polystyrene, acrylobutyl styrene, or acrylic, use liquid metal polish on a cotton ball and lightly rub the surface. Change the cotton ball regularly and do not let it dry. Finally, polish the surface to a high-gloss finish with a clean cotton ball.
Sometimes scratches can’t be avoided, but they can be removed! For simpler scratches, use a polishing wheel attached to a miniature power drill and a polishing compound. With the scratches removed, use a clean cotton ball as described above. Deeper scratches will need to be removed using progressively finer grades of wet-and-dry paper to reduce blemishes until they are small enough to be polished.
Polish large sections of plastic, such as acrylic sheet, by holding them against a buffing wheel treated with polishing compound. Hold the plastic firmly against the lower part of the wheel, with the wheel revolving down onto it. Keep the plastic moving as the action of the wheel can quickly round off the edges. Finally, polish with a soft cloth and voilà! Your model is ready!
We hope the above tips come in handy, and that you now have a better clue on how to build plastic models! Once you’ve mastered your current build, be sure to check out our great range of Star Wars scale models! If you have any other top tips for working plastic, let us know in the comments below or share them with your fellow scale modellers on our social media channels!


