Scale Model Basics: A Guide to Glue
Excuse the pun, but when it comes to gluing while scale model building, it can be easy to get stuck. Whether it’s a glue that dries too slow, or one that dries far too quickly, it can be a frustrating process, leading to a messy mismatch of not-quite aligned parts. Or worse.
So how do you know what glue is best, and what tools should you use when handling it?
Stick with us, and you’ll go far…
Glue Types: What to Use and When
If you’ve been making scale models for a while, you probably have your own tried and true glues and epoxies that have helped you complete your favourite projects. But if you’re a novice, or you’ve become frustrated with your “go to” glue, here is a quick breakdown of some available options.
Make sure that the parts are exactly where they need to be before you apply glue
Polyvinyl Acetate (PVA) Adhesive: A popular water-based domestic and commercial glue, PVA is generally best suited for building dioramas or landscaping, where it can be spread over a larger surface. While it has a weaker hold than clear adhesives, it is an easy-to-use, inexpensive option for adding finer details to a display, such as grass or stones. It is also quick to remove, if you do make any mistakes.
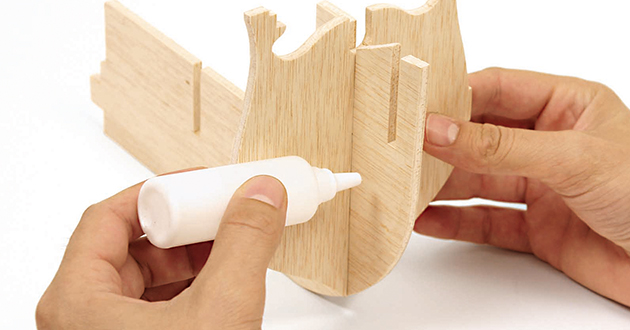
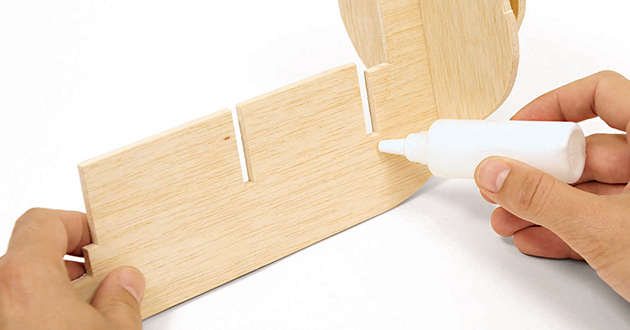
Aliphatic Glue: Also known as wood glue, aliphatic is similar to PVA, but tends to soak into joints better and thus forms a stronger bond. It also has a higher resistance to water and sand, and sets quicker than PVA. As should be obvious by its common name, it is perfect for bonding wood to wood.
Canopy Glue: Ideal for bonding plastic to plastic, these glues have the benefit of easy application and a clear finish – in other words, no nasty white marks once the glue has dried on your model parts. While the bond isn’t super strong, it is a handy tool for smaller builds.
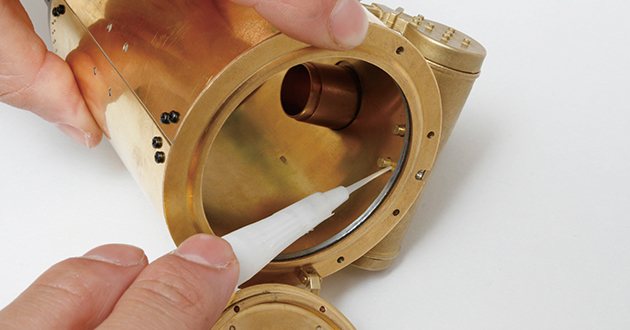
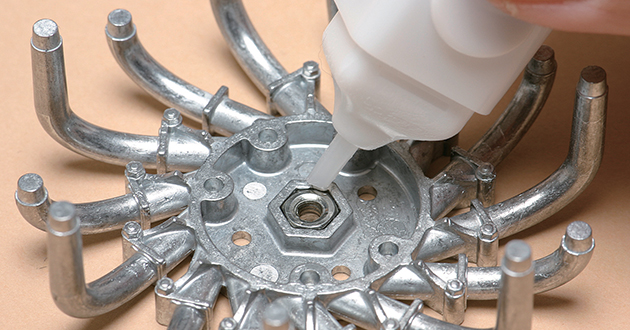
Super Glue or Cyanoacrylate (CA): A widely used glue in the world of model making, it is useful for bonding metal to metal or metal to plastic. This tends to set rapidly, so extra care should be taken when lining up parts to avoid a tricky fix later. Also be careful to avoid getting it on your skin, as fingers and thumbs form a loving bond if you’re not careful.
Epoxy Resin: A two-part glue made-up of an adhesive and a hardener, epoxy resins will bind almost any two surfaces together. Mixing is required prior to use, and drying time will generally be slower than super glues, although there are faster mixes available. The end result is a very strong bond, although the combination of mixing, hardening time, and general mess means that it is far less commonly used for scale model making.
Tools to Use
Once you’ve selected the most appropriate glue for the job, it’s time to make sure you’ve got all the necessary equipment on standby to make your gluing experience a fruitful one. As we stated earlier, different glues bond at different speeds, so you need to take that into account before you start. We’ve prepared a short list of possible tools and accessories you should have handy when you start to put things together:
- A drop sheet and paper towels – In case of any unfortunate spills
- Clamps (or similar) – To hold parts together while the glue bonds and dries
- A good hobby knife or scalpel – for cutting away mould lines that might interfere
- Sand paper – to gently scuff the bonding surfaces, increasing adhesion
Gluing Mishaps: Plan First, to Avoid the Worst
PVAs and canopy glues are easy-to-use and easy-to-clean up, but their bonds do run the risk of coming apart over time – the last thing you want after several hours, days, or months of working tirelessly on your chosen model. Before committing to these glues, assess the type of materials you are using carefully, and run a test if you need to. If in doubt, consider another option.
Conversely, super glues are brilliant for fast and strong bonds, but their quick drying time means you have to pay extra attention to avoid misalignment of parts. Make sure that the parts are exactly where they need to be before you apply glue, and where possible use a clamp or vice to hold the parts in place during the application and bonding process.
Mistakes Happen: How to Come Unstuck (On Purpose)
As with any of life’s endeavours, mistakes or accidents will inevitably occur during your model making adventures. Sometimes parts don’t quite line up during the gluing stage, or worse still, a misread instruction could leave you with the wrong pieces stuck together.
So how do you get your parts apart to start again?
When it comes to using PVA or wood glues, an easy process is to use a paintbrush dipped in hot water. Simply paint the water onto the glued areas, and in a couple of minutes the glue should soften in the joints and come apart with relative ease. Following a brief clean up process, you should be ready to re-apply glue to where it needs to go.
Super glue is a completely different beast, and there are a couple of techniques available to get the desired result. Firstly, you can carefully use a hobby knife or scalpel to cut the bonded area and separate the parts. This works better on larger pieces, but is not ideal for Photo-Etch pieces which tend to be more delicate.
Acetone or nail polish remover is great when trying to separate metal to metal bonds, and will dissolve the glue completely over time. Unfortunately this will not work for metal to plastic or plastic to plastic bonds, as the acetone will dissolve the plastic as well.
Luckily, super glue melts at around 75 degrees Celsius, so put the kettle on for a cuppa and get ready to melt that glue. Once the kettle has boiled, let it cool slightly then pour into a suitably sized container and immerse your bonded parts. Using clamps or pliers, gently pull and nudge the parts until they separate. Just remember that removing the parts from the boiled water will cause the glue to cool and harden again quickly.
In the unwelcome event that you stick your fingers together, acetone is your best course of action. It will evaporate upon touching your warm skin though, so either use a little more or mix it with some Vaseline (50:50) for a more reliable mixture that won’t disappear.
So there you have it, a quick overview of the stuff that will (hopefully) keep your scale models together for years to come. Do you have a favourite product, or any additional glue tips for your fellow builders? Share them now on our forum and Facebook page, and as always, happy building!
Ready to learn some more basic scale model techniques? Check out our 6 Tips to Quality Scale Modelling, Guide to Scale, or Paint Guide.

