Scale Model Tips – How to Apply Decals Correctly
As you come to the end of a scale model build, you often have a few decisions to make – do you go for a polished finish, or a more weathered look? Do you keep the traditional colour scheme, or go for something more artistic and original? And do you use the provided decals, paint your own designs, or keep it clean?
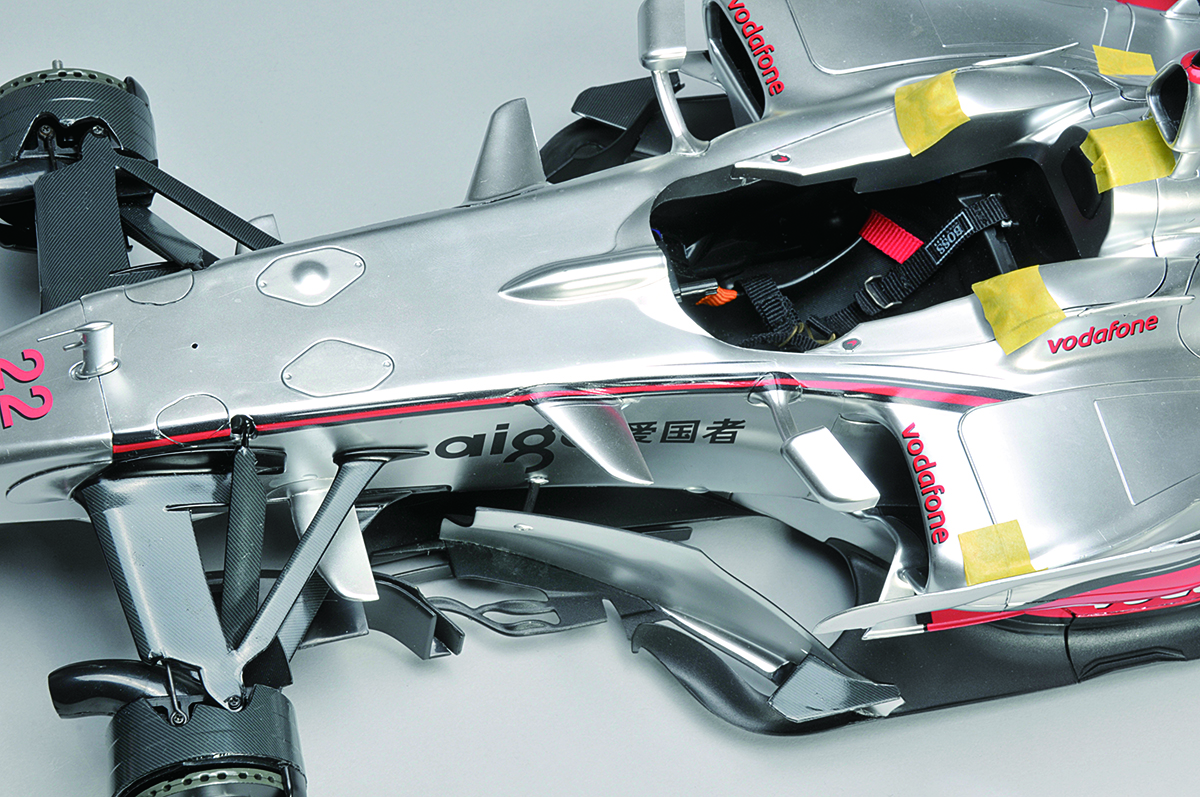
If you are more of a traditionalist, and an array of decals is provided with your model kit, chances are you’ll use them. And for good reason. Decals provide a nice touch of colour, detail, and authenticity to your model, which is especially important for models such as classic planes, or famed Formula 1 racing cars.
Below is an overview of the decal process, so give it a read and get your models looking as incredible as possible!
Essential Decal Tools
Before you apply decals, you’ll need to have your workspace cleared and all the necessary tools on hand. Here is a list of the tools you’ll need:
• Varnish or Klear
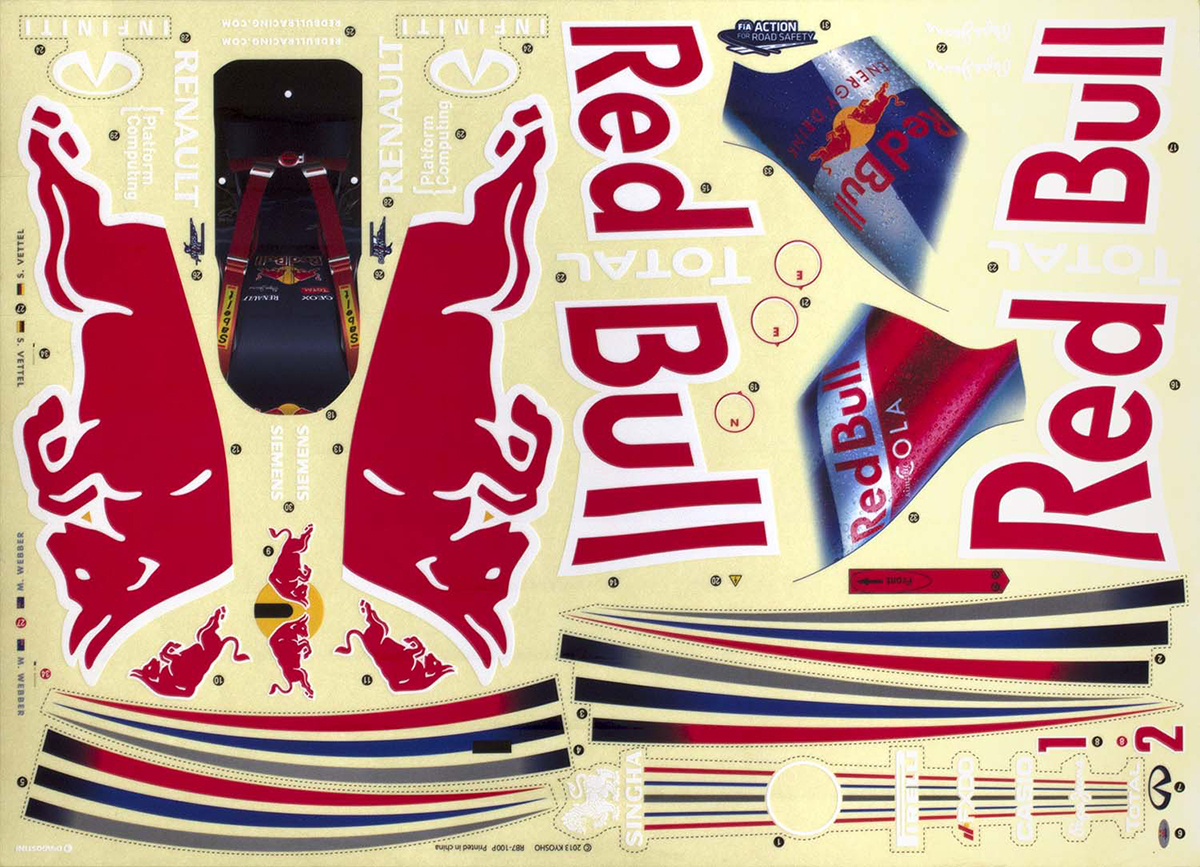
• Sheet of decals
• Scale model you will apply decals to
• Cutting mat
• Bowl of water
• Dishwashing liquid / soap
• Decal solutions x2 – one for beneath the decal, and one for on top once it has been applied
• Sharp pair of scissors (preferably small)
• Hobby knife
• Small paint brushes x2
• Tweezers
• Lint free cloth
• Paper towels
Model Surface Preparation
Once your final paint job is dry, you will need to apply 1 or 2 thin layers of varnish or Klear to create a gloss or semi-gloss finish before you apply any decals. A matt or flat paint finish may be the best look for your model, but reduces the points of contact for the decal and can leave small pockets of air beneath the decal. Make sure this varnish layer is completely dry before you follow the below decal application steps.
A small amount of washing up liquid added to the water will help the decal to slide better
Self-adhesive Decal Types
There are two different types of self-adhesive decals, the ‘wet’ type and ‘sticker’ type. Each of these has a slightly different application process, as detailed below.
‘Wet’ Self-adhesive Decals
This type of decal is a little uncommon and should not be confused with water-slide decals or vinyl self-adhesive decals. Wet self-adhesive decals have adhesive on the rear of the decal, which when wet with water, allows the decal to be moved into the correct position before carefully wiping away any access water. This causes the decal adhesive to bond to the model permanently. A small amount of washing up liquid added to the water will help the decal to slide better until you are happy that you have it in the correct position.
‘Sticker’ Self-adhesive Decals
This type of decal is generally printed onto a vinyl sheet that has a backing. If not already pre-cut, you will need to cut around the outline of each decal and peel the backing off before placing it onto the model.
Be careful that you double check that the decal is in the correct location and orientation before decal placement
How to Apply Self-adhesive Decals
Start off by carefully selecting the decal that you are going to place onto your model. Use a fresh hobby knife blade to cut as close to the artwork/lettering as you possibly can, so there is little or none of the unwanted clear vinyl that the self-adhesive decal is printed on. You can use a pair of scissors to cut out the decal, but you may find that a hobby knife is better suited to the task.
Make sure that the model surface is dry/clean and free from any dust particles or fingerprints. Once the decal has been cut and peeled from its backing sheet, carefully place the decal into position on the model, then gently press into place, forcing out any air bubbles as you go along. If you find that you have an air bubble that will not go, use a fine pin, needle, or the tip of a sharp knife blade to carefully “prick” the bubble, then press the decal down firmly so that any trapped air escapes and sets the area in place.
Be careful that you double check that the decal is in the correct location and orientation before decal placement, otherwise once applied it may be very difficult to remove from the model without damage to the decal or the model paintwork.
For any tight curves or areas that the decal needs to conform to that is not flat, you can apply a little heat using a hairdryer set to low (so as not to distort or melt the decal or model part). Once the decal is in place, carefully warm the area with the hairdryer to make the decal soft so that you can push out any creases or bubbles that may have appeared.
Water-slide Decals
Water-slide or transfer decals are quite common, and are made up of the decal, a water-soluble adhesive, and backing paper. Upon immersion with water, the decal literally slides off the backing paper, allowing you to apply it to the surface of your scale model with relative ease.
How to Apply Water-slide Decals
1. Cut the first decal from the sheet.
2. Using the tweezers, pick up the decal and put it on the surface of the water – it may curl or sink, but this is fine.
3. Pluck the decal from the bowl and leave it on a paper towel to drain excess moisture.
4. Using your first paint brush, paint the first decal solution onto the scale model, on the point where you intend to stick the decal.
5. Use the paint brush to guide the decal off the backing paper and onto the decal solution you just applied on the model. You can use the brush to position it correctly. To avoid damaging the decal, pull the backing sheet rather than moving the decal too much.
6. Once you are happy with the position of the decal, dab another paper towel on the decal to soak up any left over water.
7. While this is often enough to keep the decal in place, if you feel it necessary you can use the second paint brush to apply the second decal solution on top of the decal. This will set it firmly.
8. Leave the decal to dry.
9. To seal the decal completely, you can now apply a thin layer of varnish or Klear and allow it to dry.
10. Repeat the above steps for each new decal.
Tip: If you notice air bubbles beneath your decal once it is dry, use a pin to prick small holes in it. Now paint over the decal with decal solution before pressing down on it with a moist paper towel.
Once you have applied all your decals, and if you have done it correctly, they should now have the appearance of being painted on. From here, you can either leave the model with a gloss finish, or apply some weathering techniques.
As always, model making is as much about follow instructions as it is about following your own creativity. Decals are a great way to enhance your model even further, so add them where you see fit and make your model stand out!


Amazing car!