How to Build Model Ships – Part Two | ModelSpace
In part one of our how to build model ships guide, we shared our tips on how to choose your scale model, what tools you need, and the first few steps of the build process. In part two, we continue the steps for building your model ship, so read on and keep going with your exciting project!
Adding the remaining model ship planks
With your first planks in place and aligned correctly, now’s the time to add the rest and complete your hull. They key at this stage is to ensure that all your plans are snug, with no gaps in between. Here are some quick tips for this stage:
- No matter your best efforts, sometimes gaps will exist. To close these, use tiny wood pieces or wood filler.
- Pay close attention to the build instructions for all planking stages – some model kits may require additional plank layers.
- Some model ships will require you to taper planks – follow your build instructions as necessary.

Sanding your model ship’s hull
Once all planks have been laid, all gaps are filled, and everything is secured in place with glue, you can commence sanding. This step will leave you with a smooth hull, where each plank blends neatly with the next. While this process is fairly straightforward, here are a couple of quick tips:
- With all the planks in place, run your hands to feel and find high and low spots.
- Sand down the high spots and add wood filler where necessary on any low spots.
- Repeat the above steps until you are satisfied – the complete model ship hull should look and smooth, without any uneven or bumpy areas.
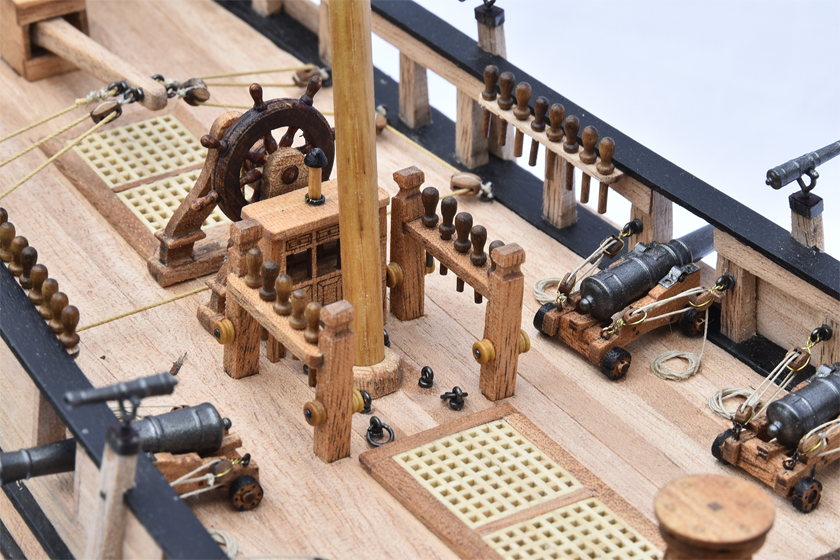
Adding the model ship’s deck
With your hull now secure and smooth, it’s time to move to the model ship’s deck. To do so, follow the above mentioned steps for laying planks. As with the hull, each plank should have full contact with the top of your bulkheads. In addition, follow these simple steps to lay your ship’s deck correctly:
- Firstly, check the specific scale model instructions for your chosen model ship. Each ship’s deck is different, so follow the set steps to ensure a satisfactory finish.
- Add slivers of wood or filler to close any gaps between planks.
- Check and double check each plank is flush and aligned before adding glue.
- Where necessary, sand down or add wood filler to create a smooth finish.
Now that your deck and hull are in place, you should have a model that is looking a lot like an actual ship – we commend you on reaching this point! The next steps will break down the necessary steps for finishing and adding details and flourishes to really make your model ship stand out. If you’re ready to finish your project, check out part three of our how to build model ships guide now!


That’s really informative post. I appreciate your skills. Thanks for sharing.