12 Quick Tips to Improve Your Scale Modelling
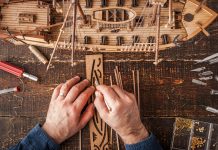
Scale models come in all shapes, sizes, types, colours, and difficulty levels, but there’s one thing they have in common – they need a builder to bring them to life. Thankfully that’s where you, the avid scale modeller, get a chance to bring something truly incredible to life. But there’s more to model making than slapping some plastic or wooden pieces together with glue and slopping a coat of paint on it.
To help you get the best out of every build project you embark upon, we’ve prepared this handy scale modellers checklist…
Know your subject
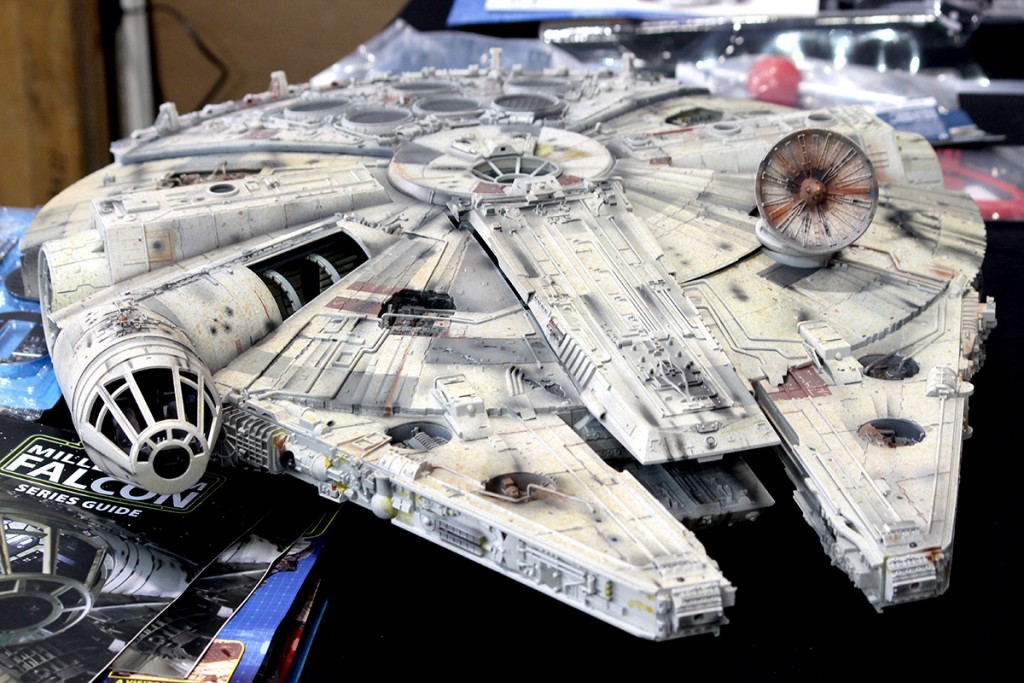
Are you a fan of motorbikes, cars, planes, ships, or pop culture (e.g. Star Wars)? When choosing your next scale model, it pays to go with something you are truly interested in, or want to learn more about. The build process can stretch on for months or even years, so do you really want to spend that time on a project you won’t enjoy from beginning to finish?
Do your homework
After finding a suitable scale model to build, spend some time researching and finding as much info about the model and the real thing it is replicating. Search the Internet and books/magazines so you can get a good idea of how you want your model to look. Scale model forums such as the ModelSpace Forum provide excellent sources for friendly advice from experienced modellers, who are happy to meet and help beginners throughout their projects.
Scale model forums such as the ModelSpace Forum provide excellent sources for friendly advice
It’s a matter of scale
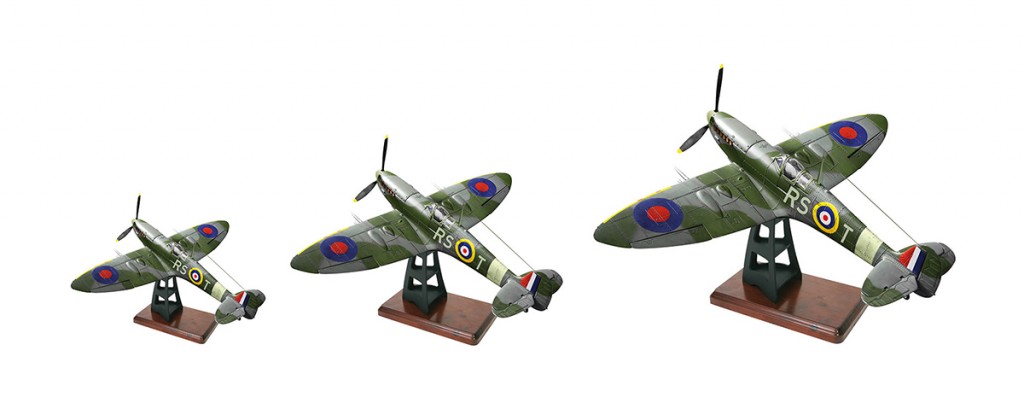
Choose a scale that you are happy with, and remember that the bigger the scale, the less room you will have to show off your collection. Bigger scale models tend to be more for the experienced modeller, but if you’re up for a challenge, remember to follow the instructions with a keen eye. Popular scales are: 1/72, 1/48, 1/35, 1/32, 1/24, 1/18, 1/16, 1/12, 1/8, and 1/4.
The right tools for the job
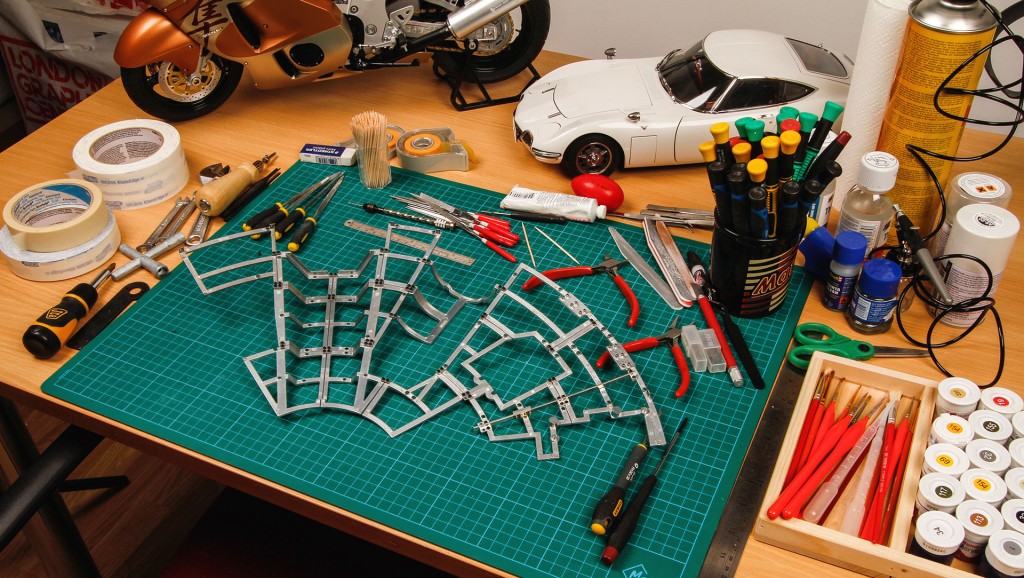
A carpenter wouldn’t knock nails in without a hammer, and likewise you shouldn’t start a project without the necessary tools for the job at hand. You don’t need to have every tool available as you start off, but a few basic modelling tools from a reliable model kit retailer will start you off on the right foot.
The correct adhesive
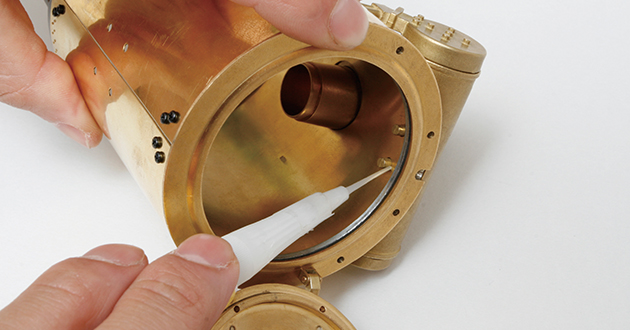
There are many types of glue, and generally information is provided with your model kit, but if in doubt you should always seek guidance. Some kit manufacturers also provide a sample of glue to get you started. When gluing small parts, use tweezers to make placing the parts easier.
Read and study
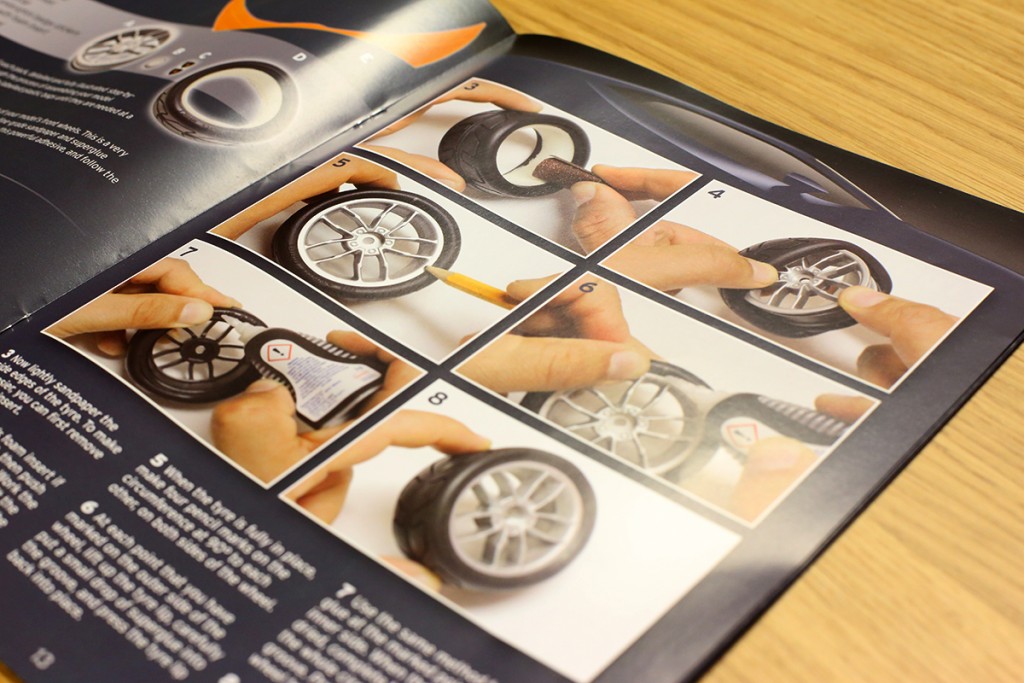
Study the instructions that come with your scale model thoroughly so that you understand how your model goes together before you start the assembly. The benefit of part builds is that your project is broken into easy-to-manage sections, each with detailed instructions so you’re less likely to make a major mistake.
Avoid wrong turns
A common mistake for beginners is to jump ahead and find that parts don’t fit properly later. If you are building your first model, it’s best not to deviate far from the build sequence in your instructions, as they are there to make your model enjoyable to build and ensure everything goes together correctly. As your experience and confidence grows, you’ll get a feel for the parts and the build sequence will become more natural, leaving room for your creativity to come to the fore.
As your experience and confidence grows, you’ll get a feel for the parts
This is not a race
Scale model making takes time and possibly many years to become an experienced model maker, so take things slow, it’s not a race! Take breaks in between stages, and think about how you’re going to tackle the next steps. Even if you don’t particularly want to do a part of the build, remember that every part has its place, and patience will lead to a better end product.
Testing, testing
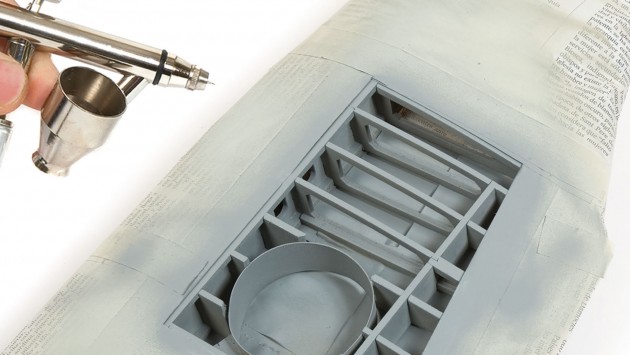
Before starting the gluing process, it is good practice to test-fit any parts. If you’re not happy with how they come together, you can use a small fine file or a sharp knife to make adjustments before applying the glue. Likewise, performing colour tests prior to painting larger areas will save you headaches later on if the dry paint doesn’t look how you’d like.
Performing colour tests prior to painting larger areas will save you headaches later
A breath of fresh air
When using any type of solvent/glue/paint, always make sure you have good ventilation. Remember to replace the cap after use and store in a cool, dry place out of the reach of children or pets.
Storage
No matter what type or size model you are building, there will be dozens of small parts that you can ill afford to lose. Keep an empty, clean container or sealable plastic bag nearby for the safe storage of any small or completed parts. All too often small parts get lost possibly making it difficult to complete your model. When you step away from your build, remember to keep your model, spare parts, and tools in a secure place away from children. 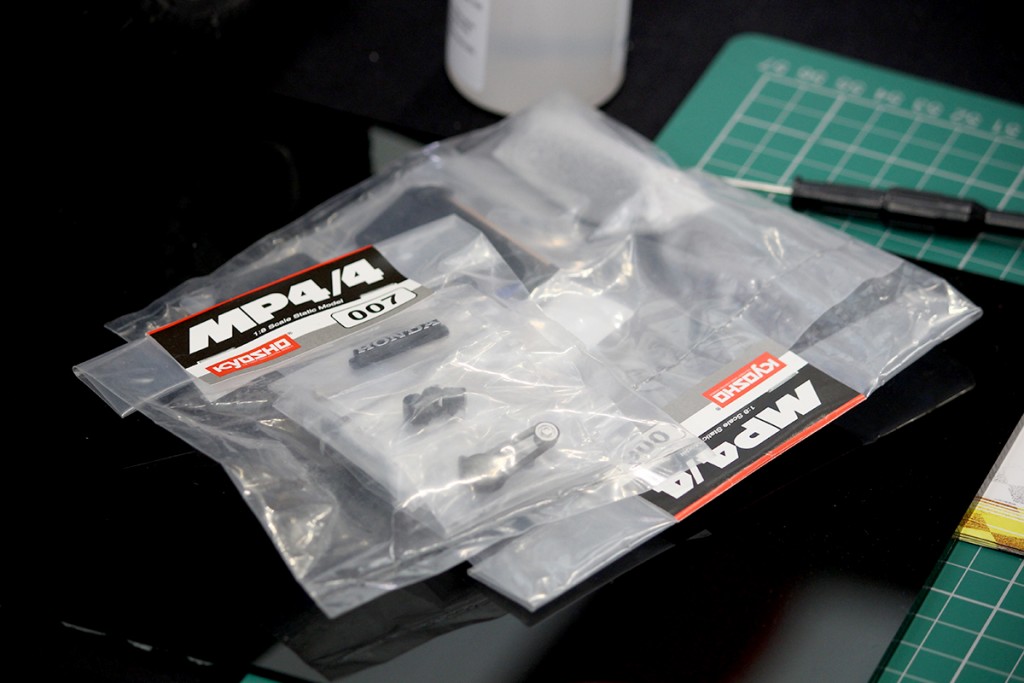
Let there be light
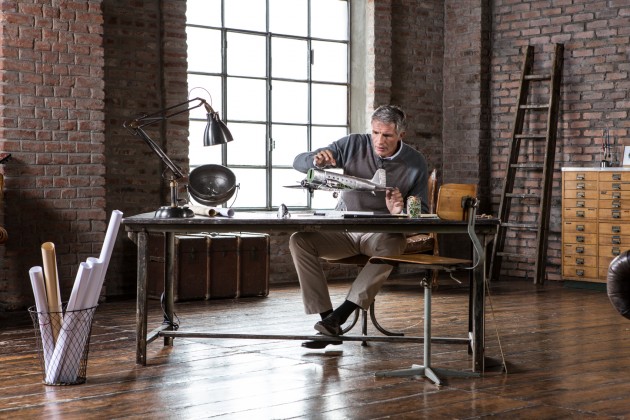
If at all possible, choose a work area with lots of natural light or good artificial lighting. Often working in bad light conditions can reveal poor assembly or poor painting, and it’s not great on the eyes either! A magnifying lamp is a good investment and a head magnifier is also useful.
Often working in bad light conditions can reveal poor assembly or poor painting
So there you go. Twelve steps to help you get the best out of your model making experience. Are there any tips we’ve missed off the checklist? Let us know in the comments below!

